A product launch party and a product demo day get booked through the same intake form, and they're treated as the same job more often than they should be. A launch party's coverage plan is built around the room: who showed up, how the reveal felt, what the crowd's reaction looked like. A demo day's coverage plan has to be built around the product, because the product is what the audience actually came to evaluate.
Product demo day coverage works best when the shot list prioritizes the product being legible on camera (close, well-lit, in-focus shots of the actual interaction) over general room-energy coverage like crowd reactions and wide venue shots. A viewer looking at the final gallery or recap video should be able to tell what the product does, not just that people were excited about it.
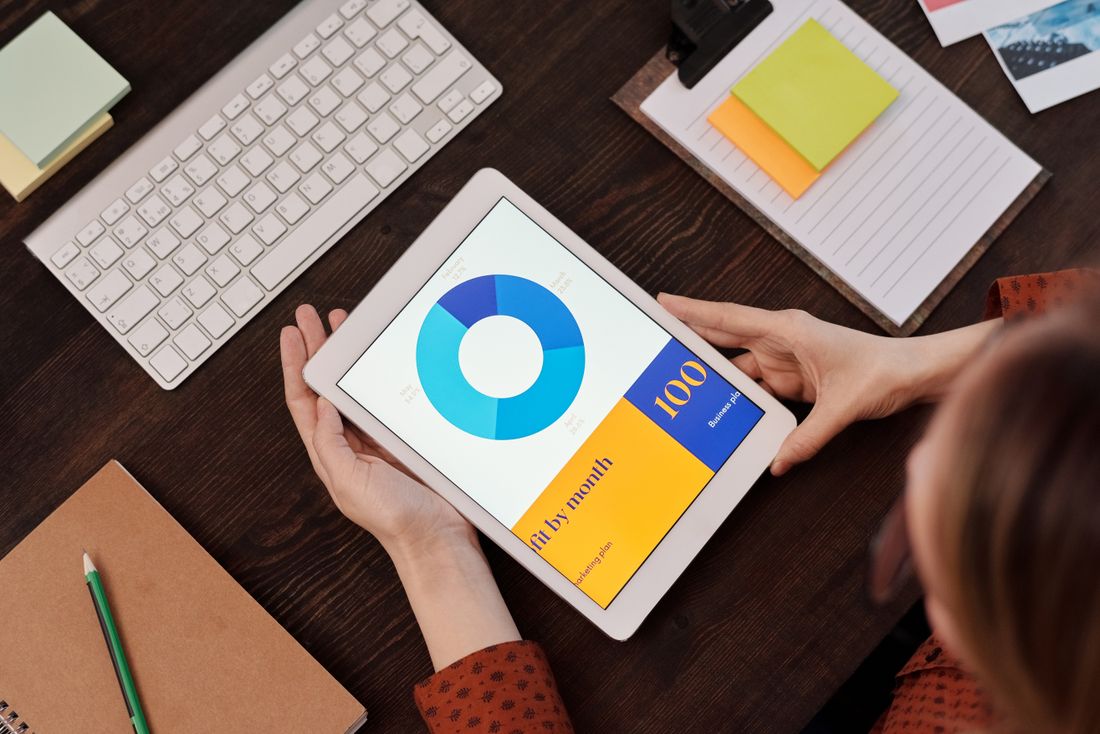
Photo by Mikael Blomkvist via Pexels.
Table of Contents
Why this isn't just a smaller launch party
A demo day is a working session with an audience, not a celebration with a product on display. People attend to evaluate whether the thing works, understand how it works, and decide whether it solves a problem they have. That's a fundamentally different job for a camera than capturing a reveal moment or a room full of applause.
Treating a demo day like a compact launch party usually means the crew defaults to a familiar shot list: wide room shots, candid mingling, a founder speaking into a microphone, and the actual demo becomes background footage instead of the main subject. The fix starts before the event: agreeing with the client on which moments in the demo are the ones a shot has to capture clearly.
Making the product actually legible on camera
Getting a product legible on camera usually requires camera positioning close to the demo station and, often, supplemental lighting. Ambient event lighting is built for a room's mood, not for making a small screen or physical object readable on video. A phone screen shot from across a room under warm event lighting rarely reads clearly once compressed for social or web use.
This is one of the first production questions worth resolving before the event: where will the demo actually happen, and can a camera get close enough without being in the way of the person running it. Knowing the demo station location in advance lets us plan a camera position and a light, if needed, instead of improvising from the back of the room once the event has already started.
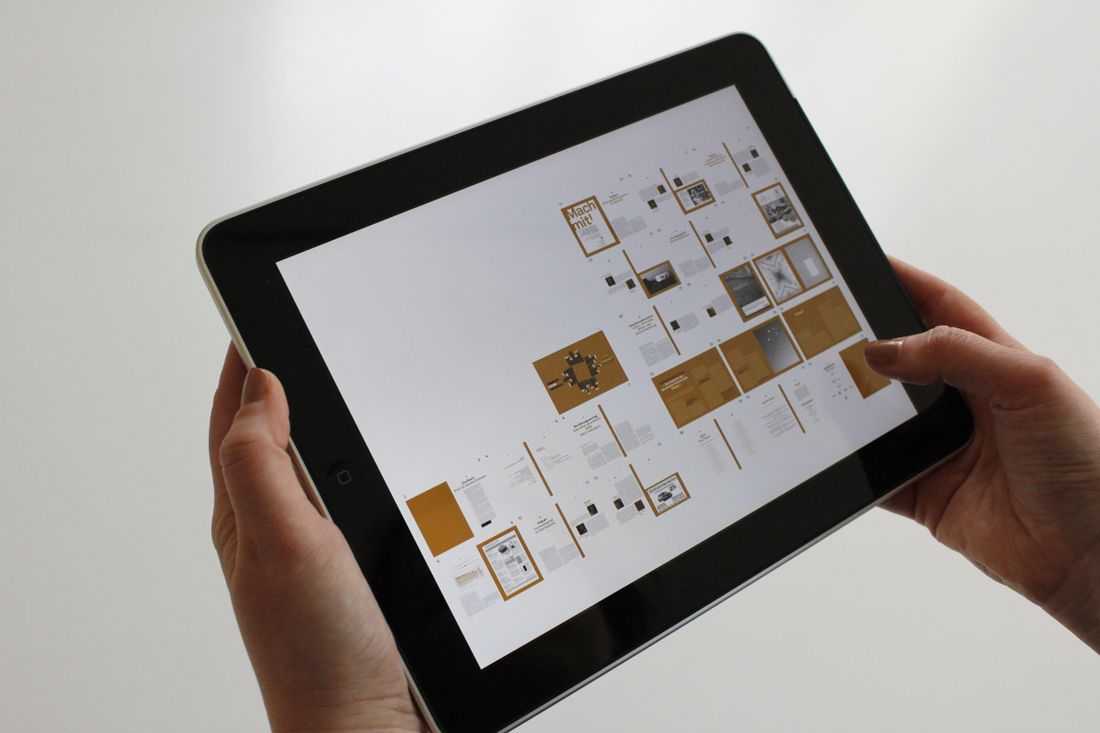
A common miss: a beautifully composed wide shot of a demo table that technically shows the product, but at a distance and angle where the screen or interaction is unreadable once the footage is edited down. The product needs its own dedicated close angle, not just a supporting role in a wider shot.
Why we film full demo runs, not just highlights
Most demo days benefit from filming complete, uninterrupted demo runs rather than trying to catch only the "best" moment live, because cutting in-camera risks missing the exact beat where the product does the thing it needs to show. A demo often builds toward one specific result, a number changing, a process completing, an output appearing, and that moment is not always predictable in advance.
Editing down a full run afterward is straightforward. Recreating a missed moment after the event is usually not possible at all, especially if the demo depended on live data, a specific audience question, or conditions that only existed once. We default to rolling the whole run and making the cutting decisions in the edit.
The room still matters, just second
None of this means room coverage disappears from a demo day shoot. Audience reactions, a founder's intro, and general event photos still round out the gallery and give the final content some human energy alongside the product footage. The difference is sequencing: the demo-legible shots get priority when the two compete for the same camera and moment, and the room coverage fills in around that priority rather than the other way around.
In practice this often means running two cameras when the budget allows, one dedicated to the demo station, one covering the room, so neither job gets shortchanged by the other. When only one shooter is booked, we agree with the client in advance on which moments matter most, so the priority call is made before the event, not improvised in real time.
What this looks like in a coverage package
Demo days generally fit inside our standard event coverage tiers rather than requiring a separate service. The Essential package covers up to 5 hours of photo or video coverage at $3,500. Combined photo-and-video coverage with a coordinated two-person crew (useful for demo days that want both product-legible video and a photo library) starts at $9,500. The main planning difference from a general event is camera positioning near the demo station, not additional cost.
Planning for a demo that doesn't go perfectly
Live demos occasionally hit a snag: a connection drops, a feature doesn't load, a step takes longer than rehearsed. Filming full, unedited runs (as recommended above) actually helps here too. If one run stumbles, a second attempt later in the day can often be swapped in during editing without anyone watching the final video knowing a first attempt existed. Flagging this possibility with the presenter beforehand, so nobody feels pressure to get one perfect take live in front of a camera, tends to produce a calmer, more natural demo overall.
It's also worth asking whether a backup version of the demo (a recorded screen capture, a secondary device, an offline fallback) exists in case the live version fails entirely. This isn't about expecting failure; it's the same instinct behind a weather backup plan for an outdoor event. Knowing the fallback exists before the cameras roll means a technical hiccup becomes a minor interruption instead of losing the day's most important footage.
Running a demo day where the product needs to actually read on camera?
Tell us where the demo happens and what moment matters most, and we'll build the shot plan around it before the day.
See Event Coverage PackagesFrequently Asked Questions
How is product demo day coverage different from general event coverage?
Demo day coverage prioritizes the product itself being legible on camera (close, well-lit shots of the actual interaction) over general room-energy shots like crowd reactions and wide venue shots. A demo day photo library needs at least a few frames where a viewer can actually tell what the product does.
Do you need special lighting to film a product demo?
Often yes, especially for screens or small physical products. Ambient event lighting is usually built for the room's mood, not for making a phone screen or a small object readable on camera, so a dedicated light or a planned camera position near the demo station makes a real difference in the footage.
Should you film the whole demo or just highlights?
Most demo days benefit from filming full, uninterrupted demo runs even if the final edit only uses a portion. Cutting live in-camera risks missing the exact moment the product does the thing it needs to demonstrate. Editing down afterward is easier than trying to recreate a missed beat.
What's the difference between demo day video and a product launch recap video?
A launch recap usually sells the event's energy: the room, the reveal moment, the crowd. Demo day video sells the product's function: what it does, how it works, why it matters. Some events need both; the difference is which one the coverage plan prioritizes when the two compete for a shot.
How much does product demo day coverage cost?
Demo days typically fit our standard event coverage tiers. The Essential package starts at $3,500 for up to 5 hours of photo or video, and combined photo-and-video coverage with a two-person crew starts at $9,500. The main planning difference is camera positioning near the demo station, not additional cost.